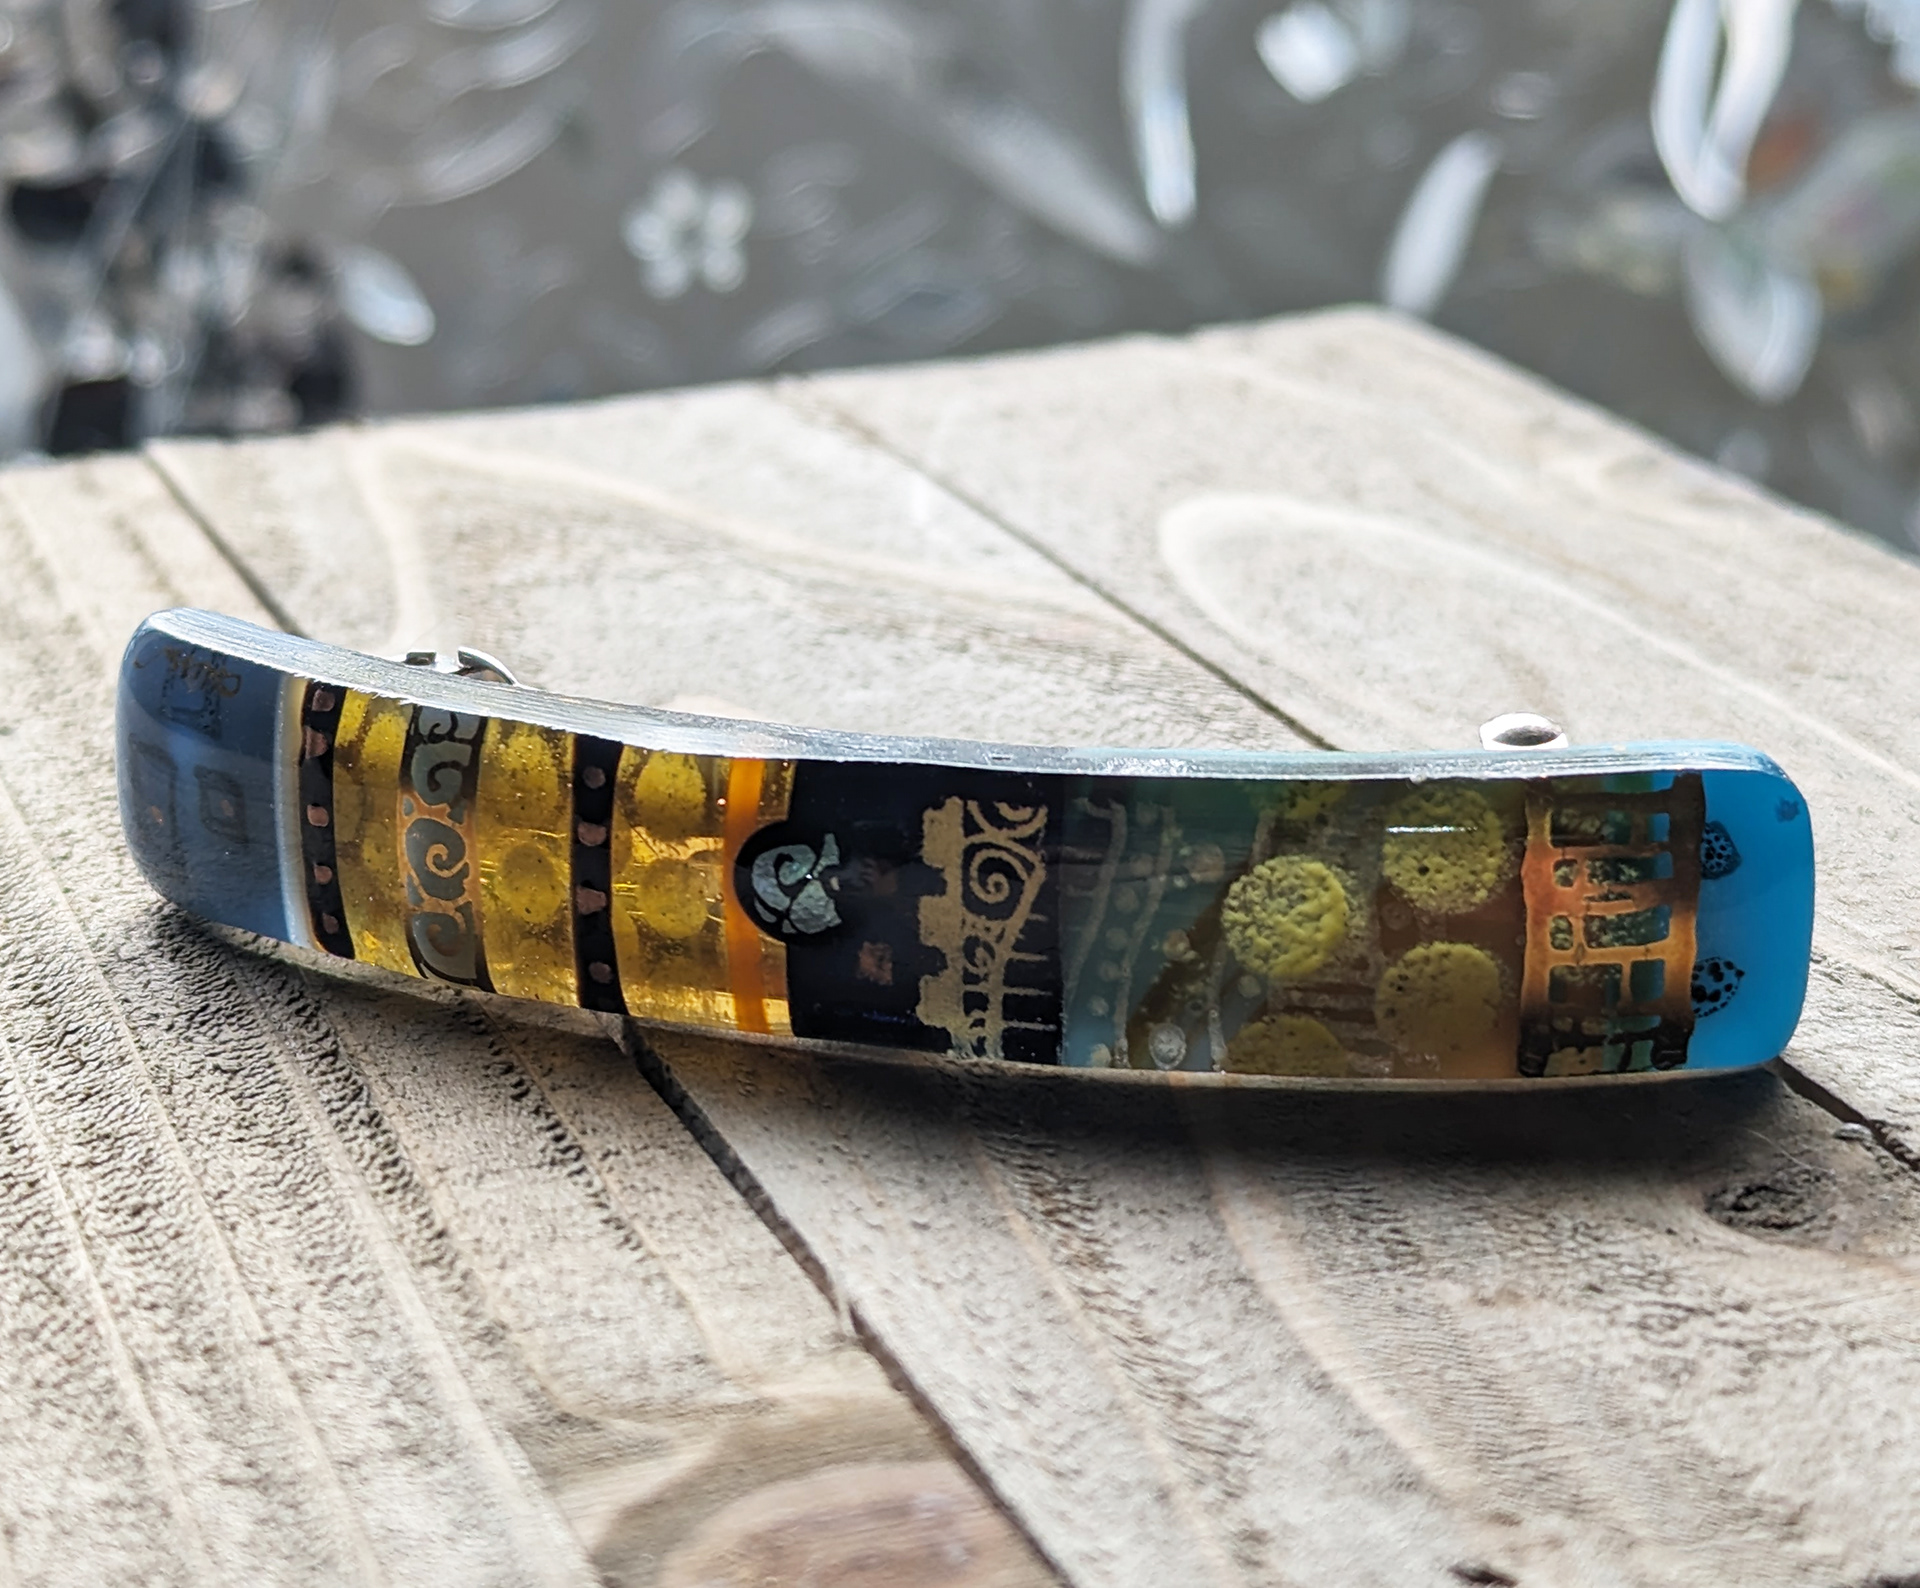
Fused Glass Barrette
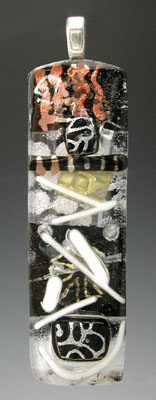
Pendant with Silver Bail
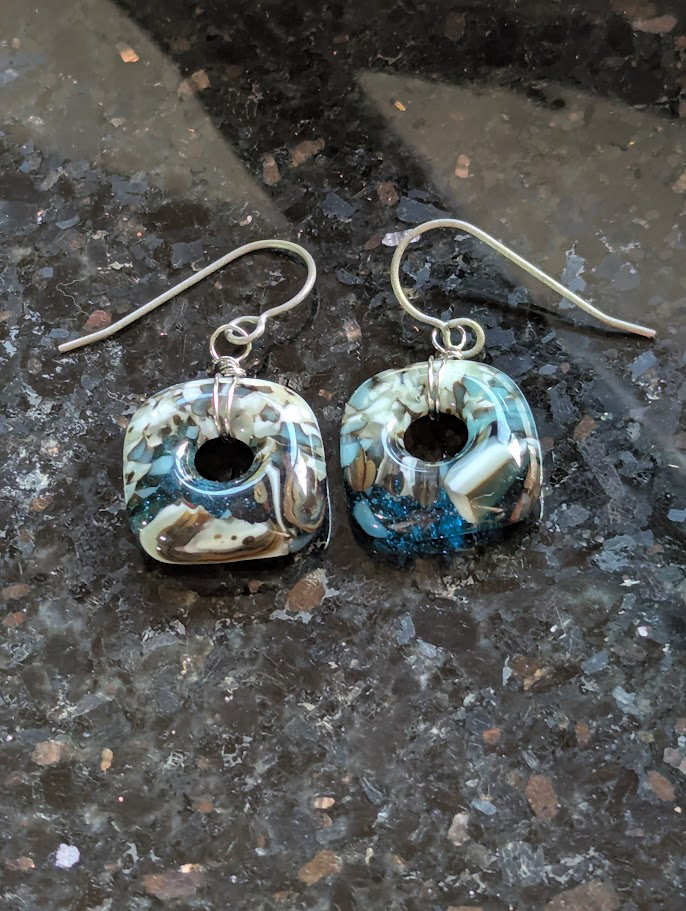
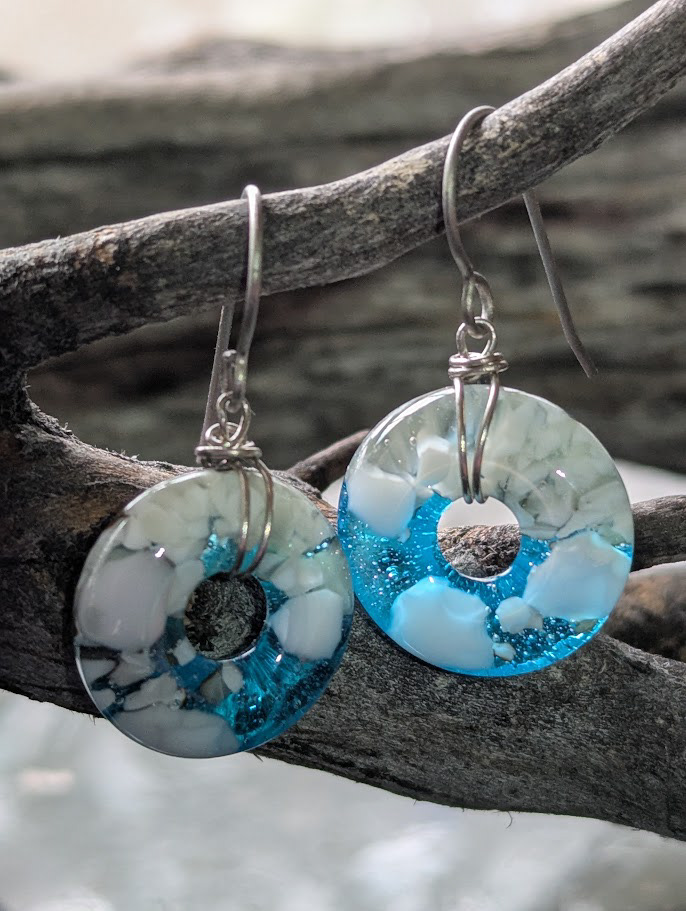
Wire-Wrapped Earrings
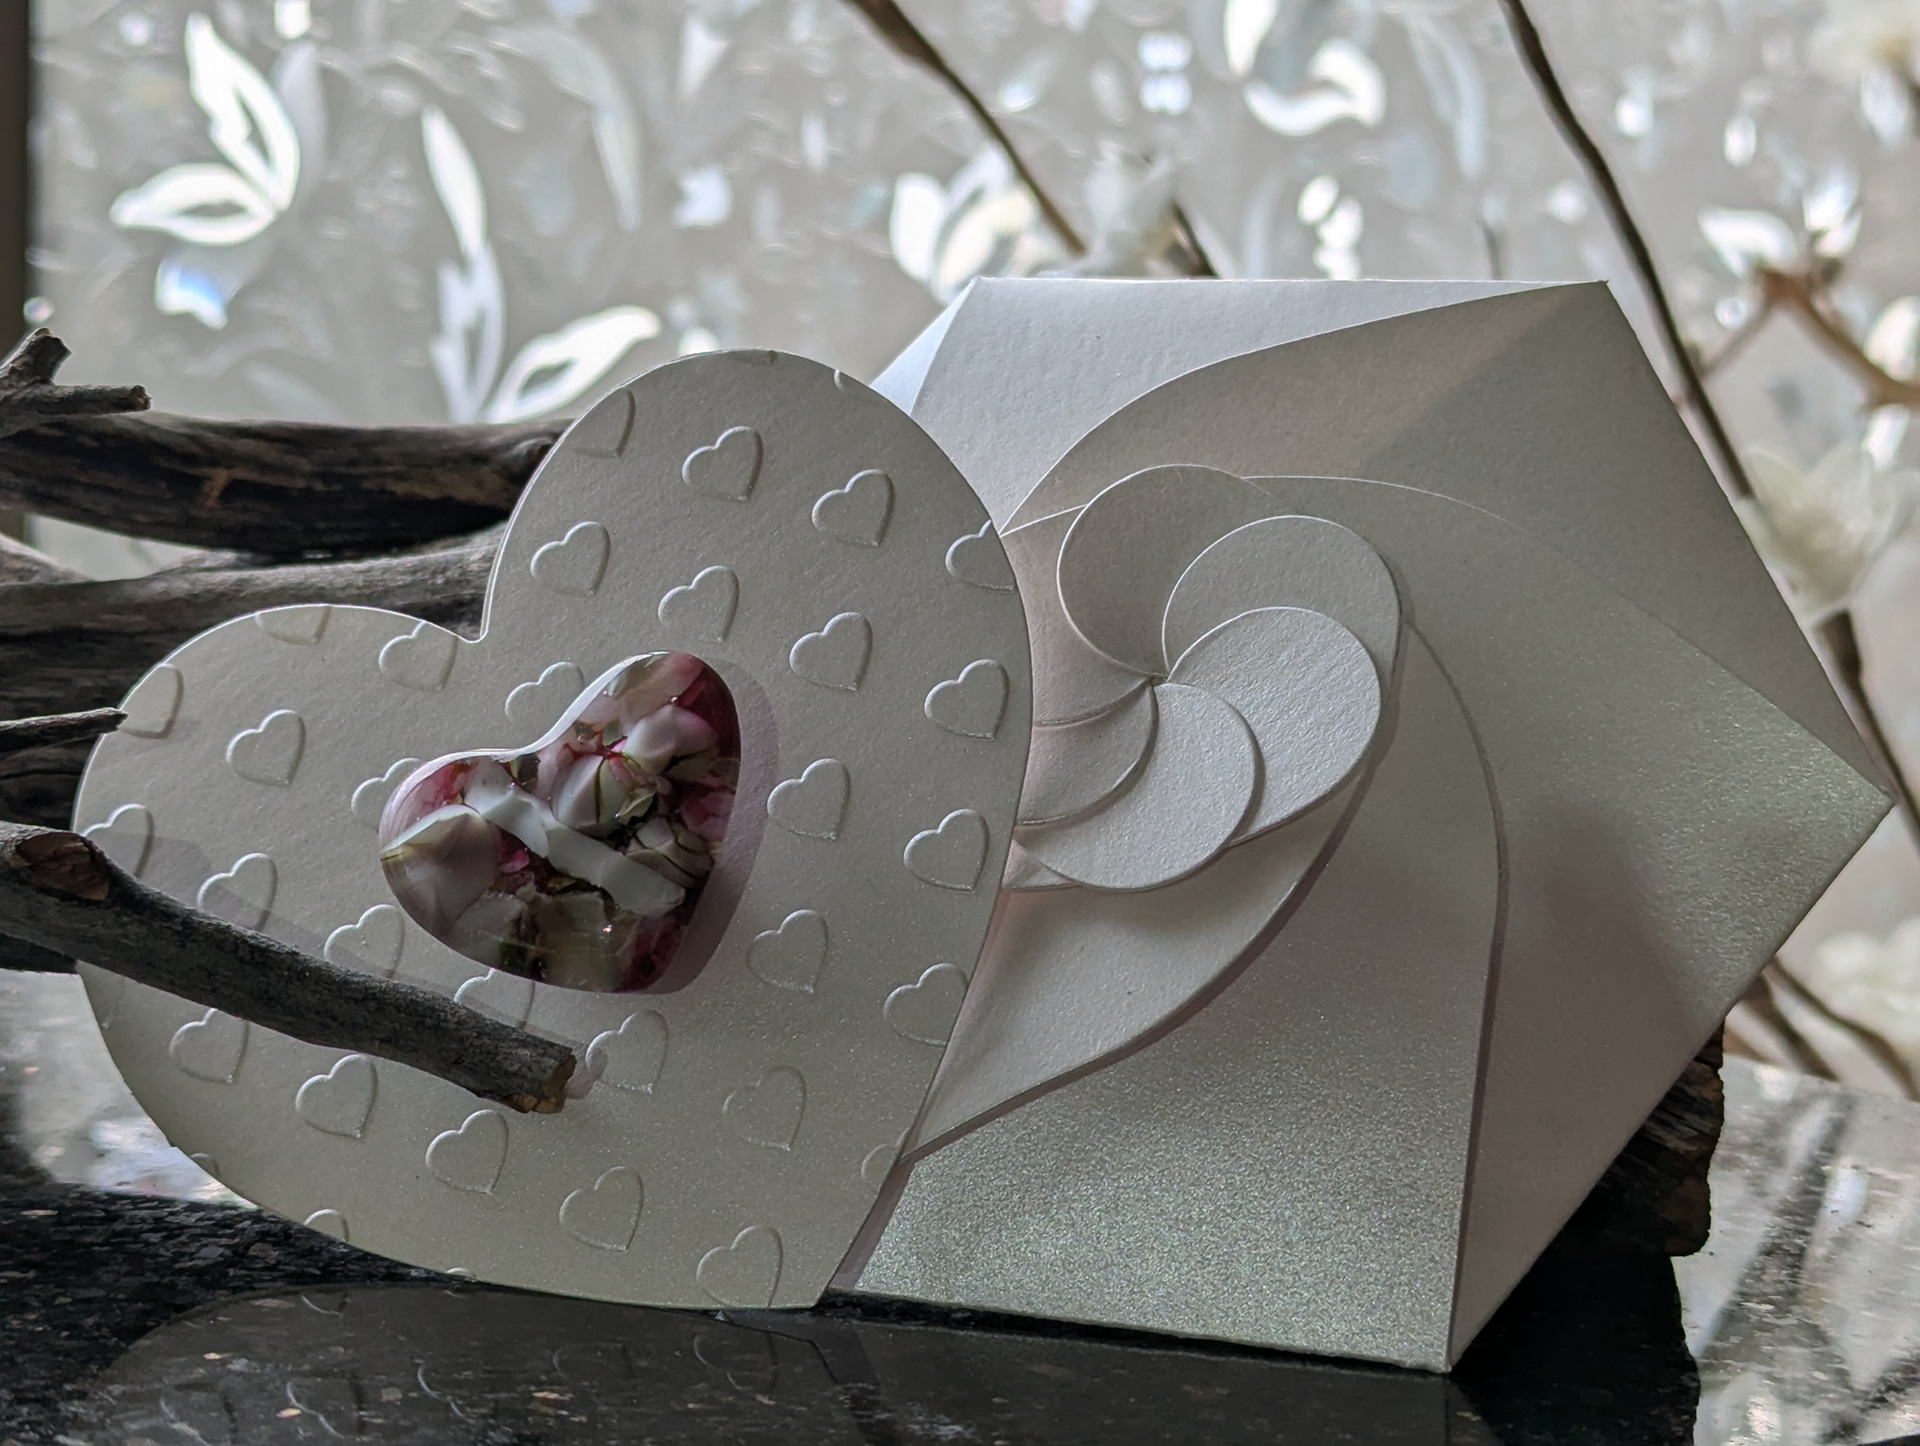
Glass Heart Magnet/Keepsake Card with Spiral Envelope
Fused glass is a fascinating medium, but it requires careful monitoring of firing schedules and thorough note-taking to achieve consistent results. That’s why I created my app, KilnTrack, which lets you assign firing schedules to glass (or clay) projects and also track techniques, color palettes, layer designs, and the specific materials used—with photo uploads for each project.
Step 1
Step 2
Step 3
FUSED GLASS - CASTING
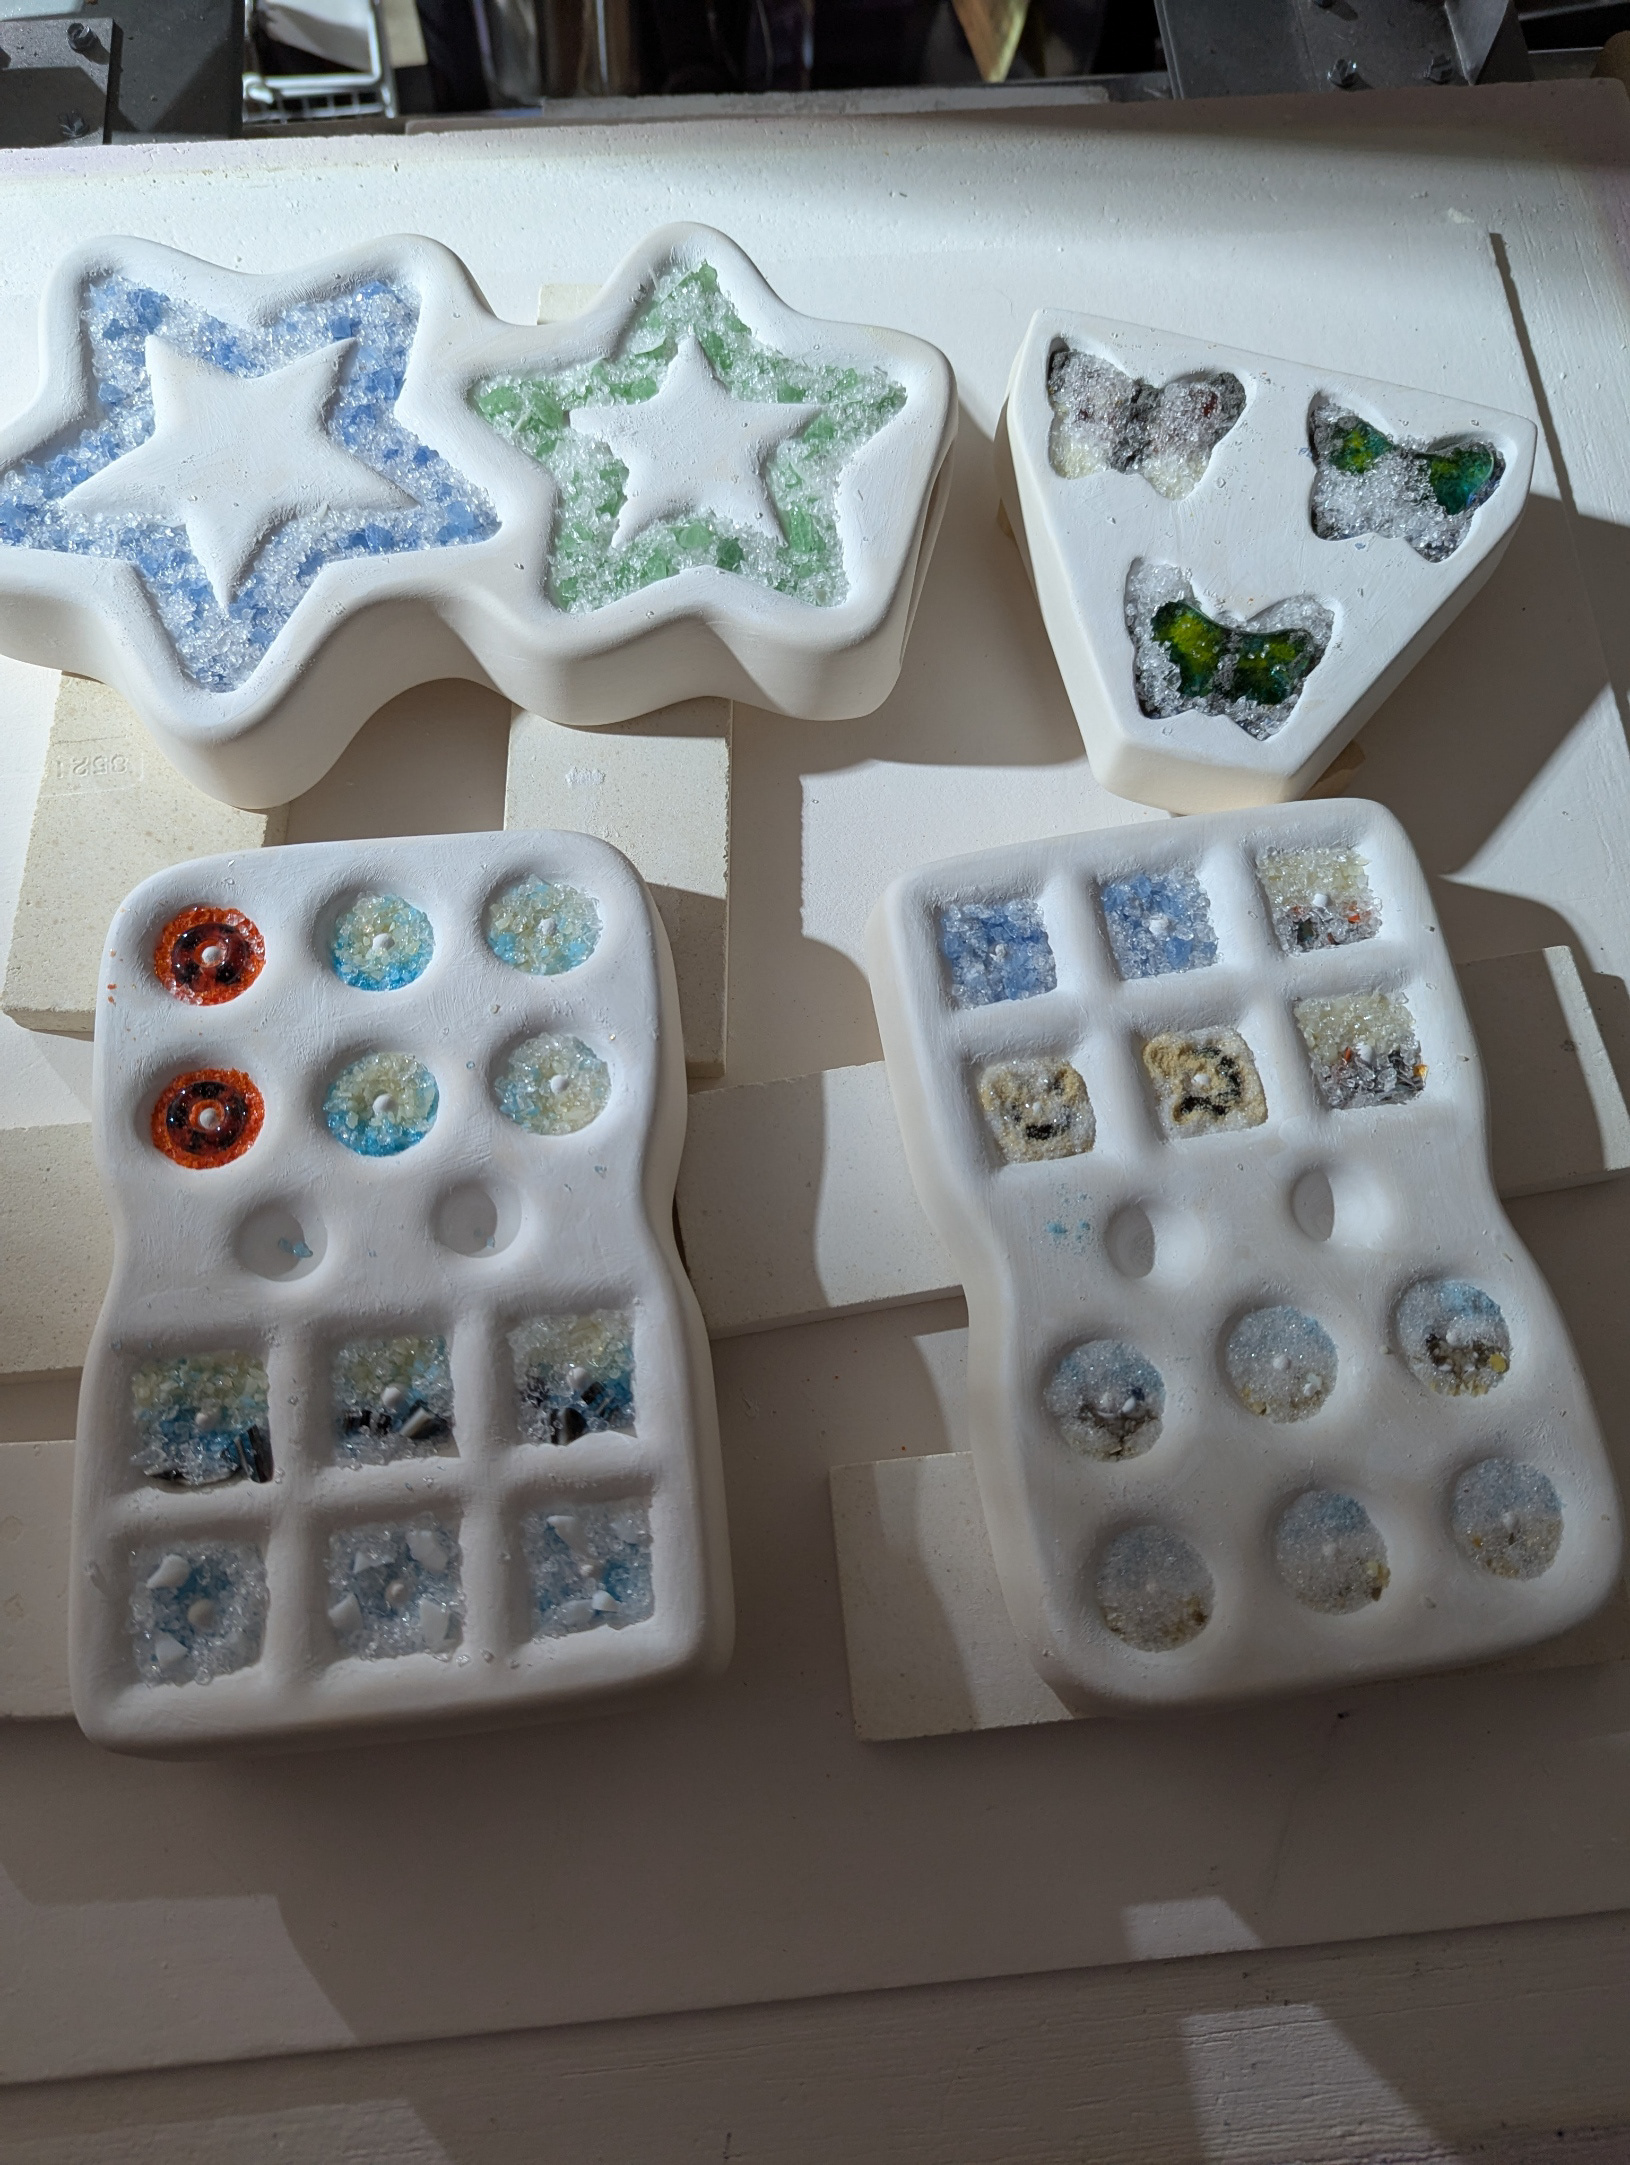
Step 1. Prepare and fire the mold: Coat the ceramic mold with Zyp (a brush-on boron nitride mold release). Add colored glass frit, then top with clear glass. (With the exception of the butterflies,) build the design from the bottom up—the top of the mold will become the shinier, smoother surface. Place the mold in the kiln and run an appropriate firing schedule. Because ceramic molds must heat slowly to prevent cracking (ramp at about 300°F per hour until reaching 1150°F).
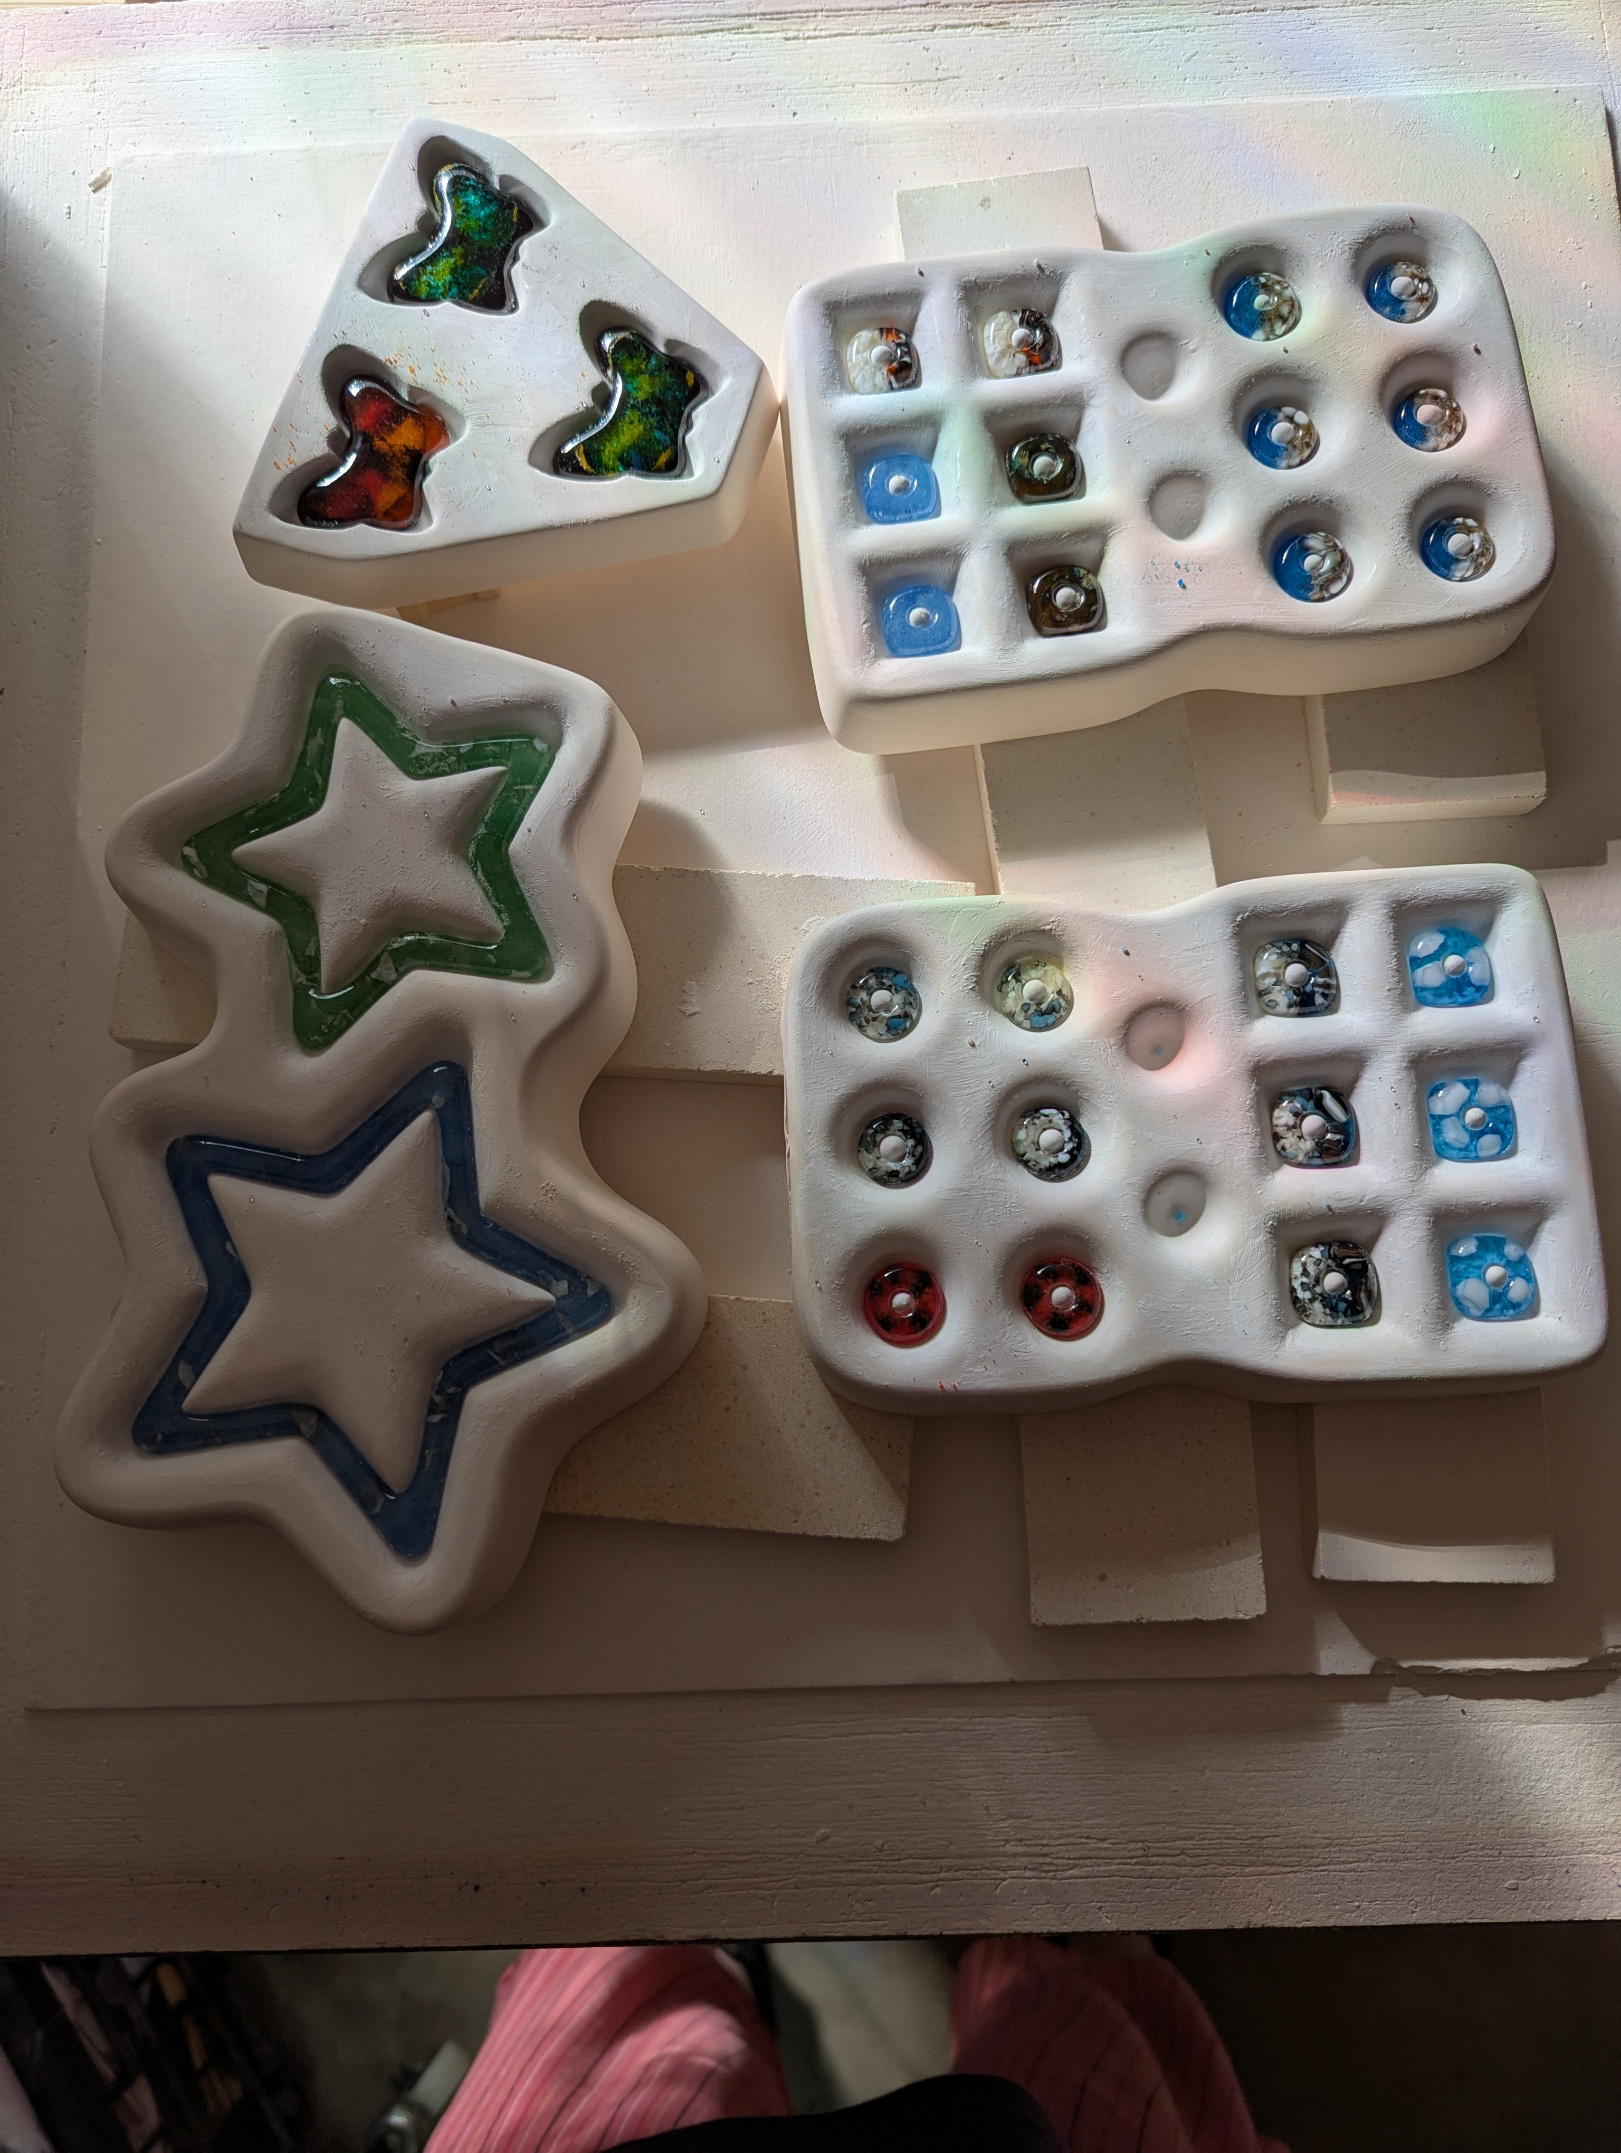
Step 2. Demold and clean: After firing, remove the glass beads and stars from the mold and wash them with a mixture of dish soap, water, and white vinegar.
Step 3. Finish the jewelry: Wrap each piece with nickel silver wire and attach hypoallergenic surgical steel earwires.
KilnTrack (Built with Figma and AI assisted coding)
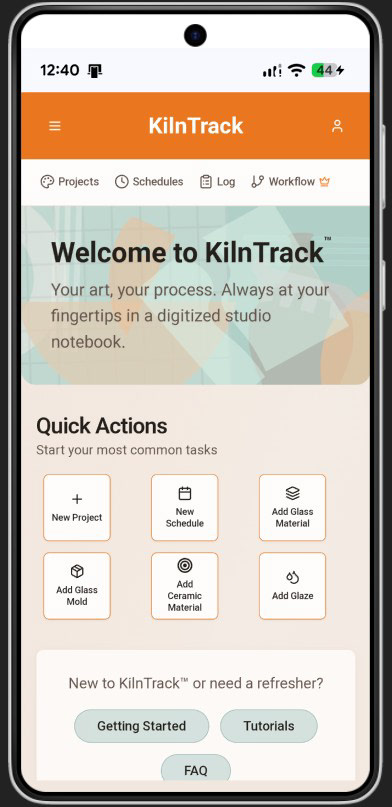
1. Dashboard
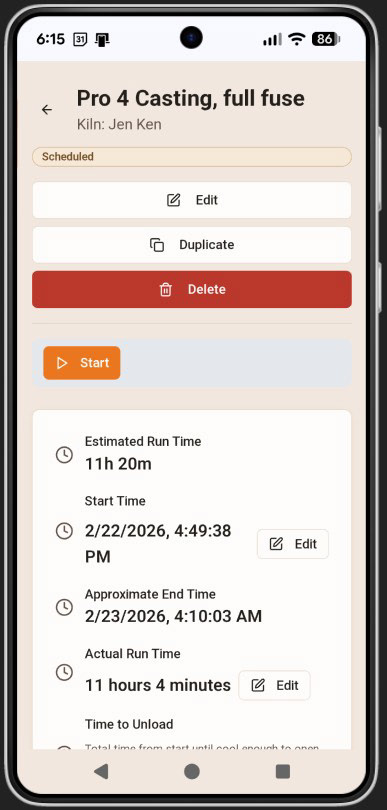
2. Start Schedule
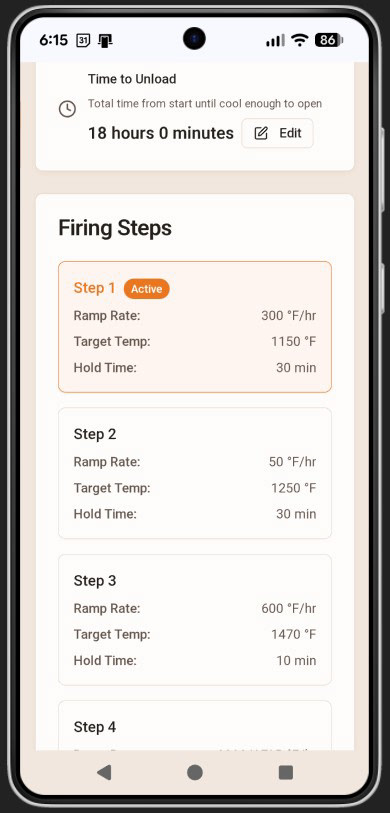
3. Active Firing
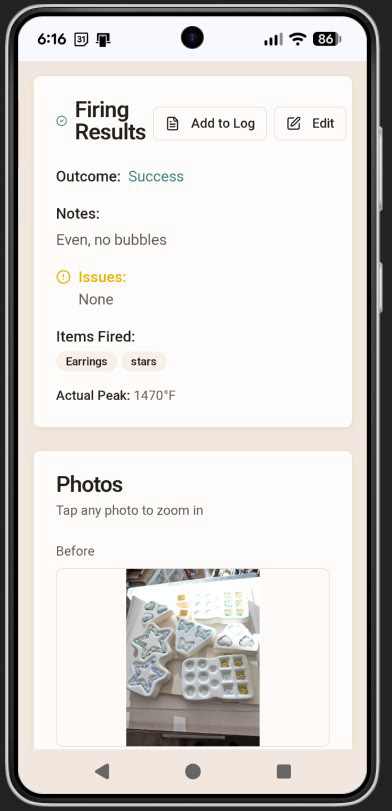
4. Firing Log & Photos
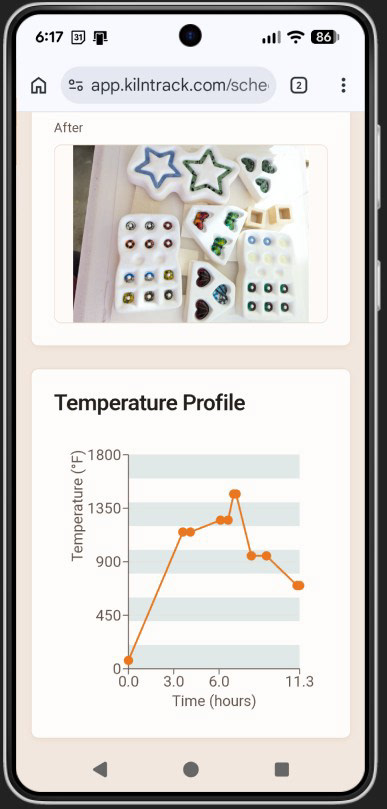
5. Interactive Profile
KilnTrack as used for the firing process noted above.
1. Background illustration on the dashboard was created in Adobe Illustrator based on the color system used for the app. The design used motifs from pottery and glass tools and at a low enough contrast to not compete with the text but still provide visual interest.
2. Firing schedule prior to starting the timer.
3. Once it has been activated, the timer will highlight run through the steps as they occur.
4. Firing results may be added here post firing. As a glass artist, it is important to track what worked well and why so results can be repeated accurately. At the bottom of the screen, a photo of the before firing appears.
5. The last screen depicts the after photo and an interactive temperature profile when on hover, gives the temperature and time at which it occurs.